

Introduction
Pizza is one of the most beloved dishes worldwide, and while the toppings often steal the spotlight, the foundation of any great pizza lies in its dough. Welcome to the world of artisan pizza dough, where the craft of creating the perfect base transforms your culinary creations. This comprehensive guide will take you through the process of making artisan pizza dough, ensuring that you achieve a crispy, flavorful crust that rivals your favorite pizzeria.
Whether you are a seasoned chef or a kitchen novice, mastering artisan pizza dough is an essential skill that will elevate your pizza-making game. The beauty of this recipe lies in its simplicity; with just a handful of high-quality ingredients and straightforward techniques, you can create a dough that is not only delicious but also incredibly satisfying to work with. In this guide, we will explore the fundamental aspects of artisan pizza dough, including its definition, the importance of quality ingredients, and a step-by-step approach to crafting your perfect dough.
Understanding the Basics of Artisan Pizza Dough
What is Artisan Pizza Dough?
Artisan pizza dough is defined by its quality, texture, and flavor. Unlike mass-produced pizza dough, which often relies on additives and preservatives, artisan dough is crafted with care, using high-quality ingredients and traditional techniques. It is characterized by a chewy interior and a crust that is both crispy and flavorful. This dough is often fermented for longer periods, allowing for the development of complex flavors and a light, airy structure.
Differences Between Artisan and Traditional Pizza Dough
While both artisan and traditional pizza dough share common ingredients, their preparation methods and the resulting textures set them apart. Traditional pizza dough often features a quick rise and baking process, yielding a denser crust. In contrast, artisan dough benefits from a slow fermentation process, which enhances flavor and creates a more nuanced texture. This method allows the dough to develop a robust flavor profile and a delightful chew, making it the preferred choice for pizza enthusiasts.
Importance of Quality Ingredients
The quality of your ingredients plays a pivotal role in the success of your artisan pizza dough. Let’s delve into the essential components that contribute to a superior dough.
Role of Flour in Dough Texture and Flavor
Flour is the backbone of pizza dough, providing structure and texture. For artisan pizza, all-purpose flour or bread flour is recommended due to its higher protein content, which helps create gluten. Gluten development is crucial for achieving the desired chewiness and elasticity in the dough. Using high-quality flour not only enhances the texture but also contributes to the overall flavor of the pizza crust.
The Impact of Yeast on Dough Rise and Development
Yeast is the magical ingredient responsible for the rise of your dough. It ferments the sugars in the flour, producing carbon dioxide that causes the dough to expand. The type of yeast used—whether active dry yeast or instant yeast—can influence the fermentation process and the final texture of your dough. Properly activating the yeast is essential for ensuring that your dough rises adequately and develops the right consistency.
Significance of Salt and Olive Oil
Salt is a critical ingredient in pizza dough, not only enhancing flavor but also controlling fermentation. It strengthens the gluten structure and helps regulate yeast activity, preventing over-fermentation. Olive oil, while optional, adds flavor and moisture to the dough, contributing to a tender crust. It can also make the dough easier to handle and stretch, creating a more enjoyable pizza-making experience.
Ingredient Breakdown for Artisan Pizza Dough
To create the perfect artisan pizza dough, you will need the following ingredients:
All-Purpose Flour
All-purpose flour is an excellent choice for artisan pizza dough due to its balanced protein content. This versatile flour provides the right amount of gluten for a chewy texture without being overly dense. For those with gluten sensitivities, there are several gluten-free flour alternatives available that can be used to create a delicious dough.
Sea Salt
Using sea salt is recommended for its superior flavor compared to table salt. Salt not only enhances the taste of the dough but also plays a crucial role in controlling the fermentation process, ensuring an even rise and a well-developed flavor profile.
Active Dry Yeast
Active dry yeast is a popular choice for home bakers, as it is easy to use and widely available. Understanding how to activate the yeast correctly is essential for the success of your dough. Proper activation ensures that the yeast is alive and ready to create the necessary rise in your dough.
Lukewarm Water
The temperature of the water you use is vital for activating the yeast. Lukewarm water, typically between 100°F to 110°F (38°C to 43°C), is ideal for dissolving the yeast and initiating fermentation. The hydration level of the dough is also influenced by the amount of water used, which affects the final consistency.
Olive Oil
While optional, olive oil can enhance the flavor and texture of your pizza dough. It adds richness and moisture, making the dough more supple and easier to work with. A drizzle of high-quality extra virgin olive oil can elevate your pizza crust to new heights.
Cornmeal
Cornmeal is often used in pizza making for its ability to prevent sticking and add a slight crunch to the crust. Sprinkling cornmeal on your baking surface can create a lovely texture while also aiding in the ease of transferring your pizza to and from the oven.
Step-by-Step Guide to Making Artisan Pizza Dough
Preparing the Yeast Mixture
The first step in making your artisan pizza dough is to prepare the yeast mixture. Start by measuring out your lukewarm water and sprinkling the active dry yeast on top. Allow the yeast to sit for about 5 to 10 minutes, or until it becomes frothy. This frothing indicates that the yeast is active and ready to work its magic in your dough.
While the yeast is activating, it’s essential to dissolve the salt in a separate small amount of lukewarm water. This step ensures that the salt is evenly distributed throughout the dough, preventing any potential issues with uneven fermentation. Once the yeast is frothy and the salt is dissolved, you’re ready to combine these ingredients with the flour.
Combining Ingredients
In a large mixing bowl, combine your all-purpose flour and the frothy yeast mixture. Use a wooden spoon or a dough whisk to mix the ingredients together until they start to form a shaggy dough. At this point, you may also incorporate the dissolved salt and, if desired, a tablespoon of olive oil for added flavor and moisture.
As you mix, pay attention to the texture of the dough. You want to achieve a slightly sticky consistency that holds together but isn’t overly wet. If the dough feels too dry, you can add a little more lukewarm water, a tablespoon at a time, until the desired consistency is reached.
Recognizing When Your Dough is Adequately Combined
Once the dough has come together, transfer it to a lightly floured surface. Begin kneading the dough by folding it over itself and pressing it down with the heel of your hand. Knead for about 8 to 10 minutes, until the dough is smooth and elastic. You can test if your dough is ready by performing the “windowpane test”: take a small piece of dough and stretch it gently. If it stretches thin without tearing, it’s ready for the next step.
Rising the Dough
After kneading, shape the dough into a ball and place it in a large, lightly oiled bowl. Cover the bowl with a clean kitchen towel or plastic wrap to prevent drafts. Allow the dough to rise in a warm, draft-free area for about 1 to 2 hours, or until it has doubled in size. This fermentation process is crucial for developing the flavor and texture of your artisan pizza dough.
During the rising phase, you can take the opportunity to prepare your favorite pizza toppings or sauces, ensuring that everything is ready for when your dough is ready to be shaped and baked. As the dough rises, it will become airy and light, setting the stage for a perfect pizza crust.
With these foundational steps covered, you’re well on your way to crafting your artisan pizza dough. The careful attention to ingredient quality and preparation techniques will pay off in the form of a delicious pizza base that serves as the perfect canvas for your culinary creations. Stay tuned for the next part of this guide, where we will delve deeper into shaping, baking, and perfecting your artisan pizza experience.
Why Time is Crucial for Flavor Development
When it comes to artisan pizza dough, time is your best friend. Allowing the dough to ferment for an extended period, typically between 24 to 72 hours, significantly enhances its flavor profile. This slow fermentation process encourages the development of complex flavors that cannot be achieved with quick-rising methods. During fermentation, enzymes break down the starches in the flour into sugars, and the yeast produces carbon dioxide, leading to a richer and more nuanced taste. As the dough rests, it also develops gluten, which is crucial for achieving that perfect chewy texture.
Ideal Conditions for Dough Rise
Creating the perfect environment for your dough to rise is essential. The ideal temperature for fermenting pizza dough is around 75°F to 80°F (24°C to 27°C). If your kitchen is cooler, consider placing your dough in a slightly warmed oven (turned off) or on a countertop that receives indirect sunlight. Higher humidity can also help keep the dough from drying out as it rises. Covering the dough with a damp cloth or plastic wrap will help retain moisture, ensuring a beautifully soft and pliable texture upon completion.
Shaping and Resting the Dough
Once your dough has risen, it’s time to shape it into pizza balls. This step is crucial for achieving the right structure and texture. Here’s how to do it:
Techniques for Shaping Dough Balls
1. Divide the Dough: Using a bench scraper, divide your risen dough into equal portions, typically about 8 to 10 ounces each for individual pizzas.
2. Pre-shape the Dough: Lightly flour your work surface and use your hands to gently shape each piece of dough into a ball. Start by folding the edges into the center and then rotate the dough to create tension on the surface.
3. Final Shaping: Once you have a round shape, flip the dough over so the seam side is down. Cup your hands around the dough and gently rotate it to create a smooth ball.
4. Rest the Dough: Allow the shaped dough balls to rest for at least 30 minutes at room temperature. This resting period relaxes the gluten, making it easier to stretch the dough without tearing.
Importance of Resting Before Baking
Resting the dough before baking is vital. It allows the gluten to relax further, which helps in stretching the dough without it springing back. This pre-baking rest also aids in developing a lighter crust. If you skip this step, you may end up with a tough or chewy pizza base, rather than the desired airy and crisp texture.
Baking Your Artisan Pizza
Preheating the Oven
Before you start shaping your pizza, it’s essential to preheat your oven. Set it to the highest setting, typically around 475°F to 500°F (245°C to 260°C). Preheating your oven ensures that you achieve that perfect crispy crust.
Why High Temperatures are Essential for Pizza
High temperatures are critical when baking pizza because they create a quick burst of heat that helps the crust rise and develop a crisp texture while keeping the toppings moist and flavorful. A hot oven promotes the Maillard reaction, which is responsible for the beautiful golden-brown color and savory flavor of your pizza crust.
Tips for Using a Pizza Stone Versus a Baking Sheet
If you have a pizza stone, use it! A pizza stone retains heat better than a baking sheet, resulting in a crispier crust. Preheat the stone in the oven for at least 30 minutes before baking. If you’re using a baking sheet, lightly grease it or sprinkle it with cornmeal to prevent sticking.
Stretching and Rolling the Dough
Techniques for Achieving the Perfect Crust Thickness
When it comes to stretching the dough, the goal is to achieve a crust that’s evenly thick. Here’s how to do it:
1. Flour the Surface: Keep your work surface and hands floured to prevent sticking.
2. Press and Stretch: Start by pressing the dough ball into a flat disk with your fingers. Move from the center outwards, gradually stretching it into a larger round shape.
3. Use Gravity: Hold the edges of the dough and let gravity help stretch it downwards. Rotate the dough as you go to maintain a circular shape.
4. Avoid Rolling Pins: While you can use a rolling pin, it’s often better to stretch by hand to preserve the air bubbles in the dough, which contribute to a light and airy crust.
How to Prevent Tearing While Stretching
If you notice your dough tearing, it might need more resting time. Let it sit for an additional 10-15 minutes before attempting to stretch it again. Also, be gentle when handling the dough; aggressive stretching can lead to tears. If a hole appears, pinch it together gently to seal it.
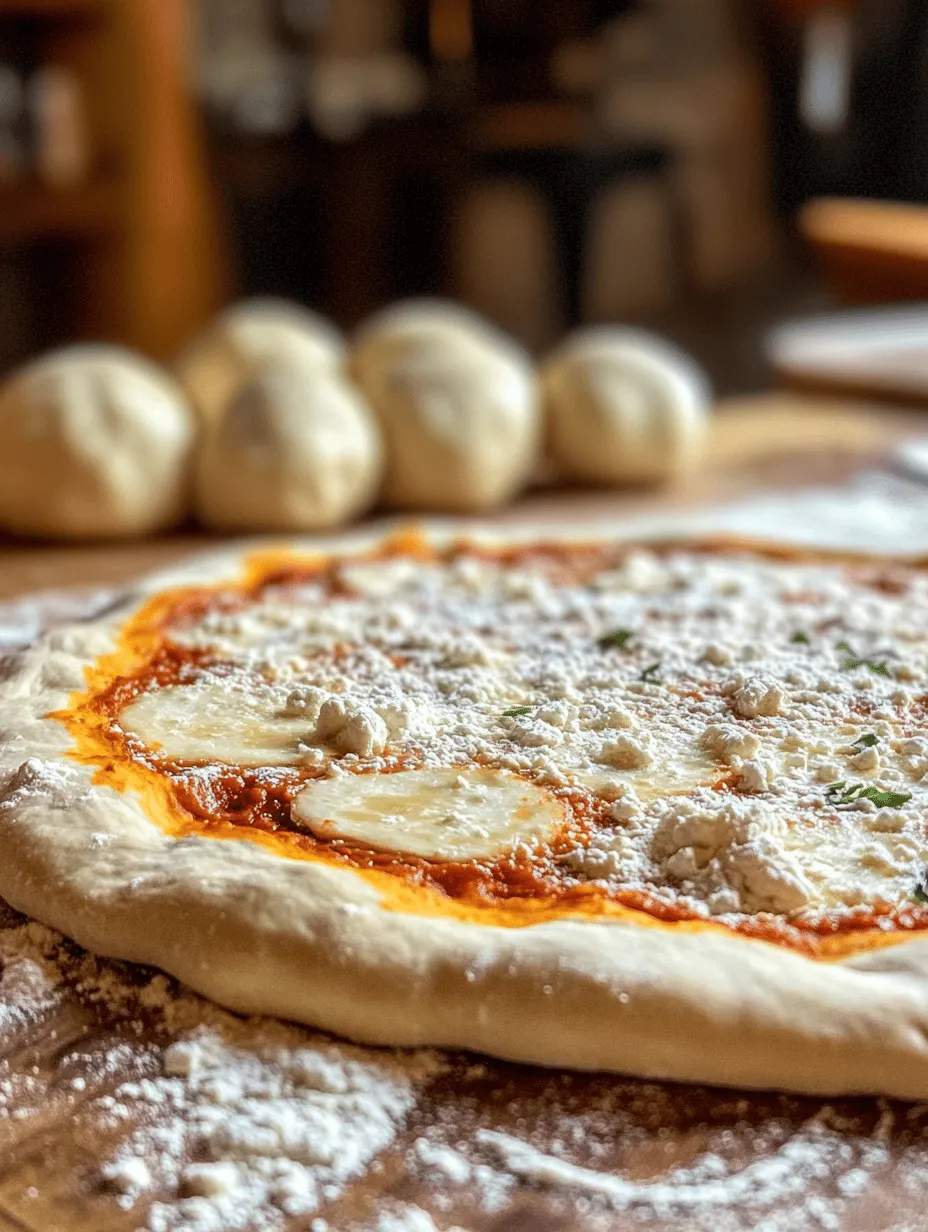
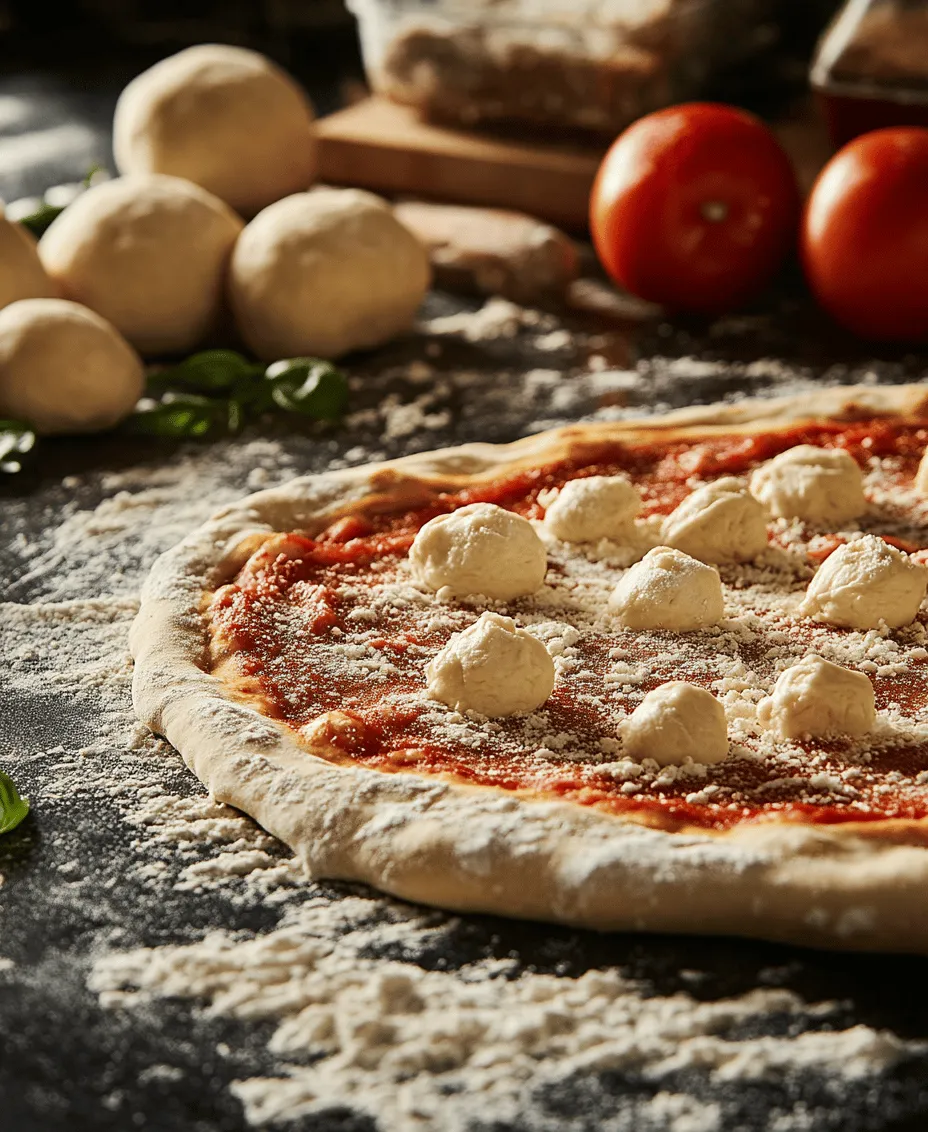
Adding Toppings
Suggestions for Classic and Innovative Toppings
Now that your dough is stretched and ready, it’s time to add toppings. Classic combinations include:
– Margherita: Fresh mozzarella, basil, and a drizzle of olive oil.
– Pepperoni: Tomato sauce, mozzarella, and spicy pepperoni slices.
For innovative toppings, consider:
– BBQ Chicken: Shredded chicken, BBQ sauce, red onions, and cilantro.
– Mediterranean: Feta cheese, olives, artichokes, and a sprinkle of oregano.
Balancing Flavors and Textures
When adding toppings, balance is key. Ensure you have a combination of flavors—sweet, salty, and savory—along with various textures like creamy cheeses, crunchy vegetables, and tender meats. This harmony creates a deliciously satisfying pizza experience.
Baking Process
What to Look for in a Perfectly Baked Pizza
When baking, keep an eye on your pizza. A perfectly baked pizza will have a golden-brown crust, bubbling cheese, and slightly charred edges. The center should be set but still soft and tender, not soggy.
Timing and Temperature Considerations
Bake your pizza for about 10-15 minutes, depending on your oven’s heat. If you’re using a pizza stone, you might find that your pizza bakes even faster. Rotate the pizza halfway through baking for even cooking. Use a pizza peel or spatula to check the bottom of the crust; it should be crisp and golden.
Exploring Variations of Artisan Pizza Dough
Whole Wheat Artisan Pizza Dough
For a healthier option, consider using whole wheat flour. This flour has more fiber and nutrients compared to all-purpose flour. When substituting, you may need to adjust the water content, as whole wheat absorbs more moisture.
Herb-Infused Dough
Add fresh herbs like rosemary, thyme, or basil directly into your dough mixture for an aromatic twist. This addition enhances the flavor and complements your toppings beautifully.
Neapolitan Style Dough
Neapolitan pizza dough has a slightly different preparation method. It typically uses high-protein flour, less yeast, and a shorter fermentation time. This style results in a softer, chewier crust that is cooked at extremely high temperatures for a short duration.
Common Mistakes to Avoid When Making Pizza Dough
Overworking the Dough
One of the most common mistakes is over-kneading the dough. While developing gluten is essential, excessive kneading can lead to a tough crust. Aim for just enough kneading until the dough is smooth and elastic.
Insufficient Rising Time
Rushing through the rising process can lead to dense, flat pizza. Always allow adequate time for fermentation, as this is where the flavor and texture develop.
Improper Oven Temperature
Ensure your oven reaches the desired temperature before baking. If it’s not hot enough, the crust will not achieve the desired crispness, and you may end up with a soggy pizza.
Conclusion
Crafting your own artisan pizza dough is not just a culinary task; it’s a rewarding experience that elevates your pizza-making skills to new heights. With the right ingredients, techniques, and a little patience, you can create a deliciously crispy and flavorful crust that will impress family and friends alike. Whether you stick to the traditional recipe or explore variations, the satisfaction of enjoying homemade pizza made from scratch is unparalleled. Embrace the process, and enjoy the journey of pizza creation!
