Introduction
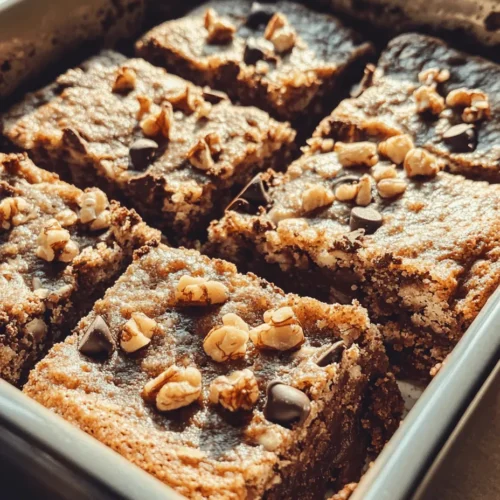
In the world of baking, few combinations evoke more satisfaction than the harmonious pairing of chocolate and banana. The delightful Choco-Banana Bliss Bars not only deliver a rich and indulgent taste but also offer a healthier twist with ingredients like ripe bananas and applesauce. These bars are perfect for a snack, a decadent dessert, or even a quick breakfast option, making them a versatile treat for any occasion. Whether you’re hosting a gathering, looking for a simple after-school snack, or craving a sweet indulgence, these bars are designed to please your palate while being easy to prepare.
In this article, we will guide you through the step-by-step process of creating these blissful treats, alongside insights into the ingredients and their benefits. Get ready to whip up a batch of Choco-Banana Bliss Bars that not only taste amazing but also make you feel good about what you’re eating.
The Allure of Choco-Banana Bliss Bars
The popularity of chocolate and banana desserts can be attributed to the perfect balance of flavors they offer. Chocolate brings a rich, indulgent taste, while bananas add a natural sweetness and moisture that enhances the overall texture. This dynamic duo is not only pleasing to the taste buds but also appeals to our desire for comfort food—a craving that many of us have from time to time.
Bar recipes, in particular, have gained traction among home bakers due to their simplicity and convenience. Unlike traditional cakes that require intricate layering and decoration, bar recipes are straightforward and can be quickly prepared without fuss. This ease of preparation makes Choco-Banana Bliss Bars an ideal choice for both novice and experienced bakers. They can be mixed up in one bowl and baked in a single dish, allowing for minimal cleanup and maximum enjoyment.
Another appealing aspect of these bars is their adaptability. You can customize the ingredients to suit your preferences or dietary needs—whether you want to add nuts for a crunch, use gluten-free flour, or switch to a dairy-free chocolate. The possibilities are endless, making these bars not just a recipe, but a canvas for your creativity!
Ingredient Breakdown
To create the Choco-Banana Bliss Bars that everyone will love, let’s delve into the key ingredients that make this recipe special:
– Ripe Bananas: The cornerstone of this recipe, ripe bananas are not only naturally sweet but also provide moisture, which is crucial for achieving a soft and chewy texture. As bananas ripen, their starches convert to sugars, allowing them to enhance the overall flavor without the need for excessive added sugars.
– Unsweetened Applesauce: A healthier substitute for oil, unsweetened applesauce adds natural sweetness while reducing the overall fat content of the bars. It helps keep the bars moist and tender, making it a great ingredient for those looking to create a lighter version of a classic treat.
– Brown and Granulated Sugar: Both types of sugar play an essential role in balancing sweetness and texture. Brown sugar contributes a hint of molasses flavor and moisture, while granulated sugar helps provide structure to the bars. Together, they create a perfect blend that enhances the overall taste.
– Vegetable Oil: This ingredient is essential for keeping the bars moist and tender. It works in harmony with the applesauce and bananas to ensure that each bite is rich and satisfying.
– Eggs: Eggs act as a binding agent in this recipe, giving structure to the bars while also contributing to their richness. They help the bars rise and create a fluffy texture, making them more enjoyable to eat.
– Flour, Baking Soda, Baking Powder, and Salt: These ingredients form the foundation of baked goods. Flour provides structure, while baking soda and baking powder are leavening agents that help the bars rise. A pinch of salt enhances the overall flavor, ensuring that the sweetness isn’t overwhelming.
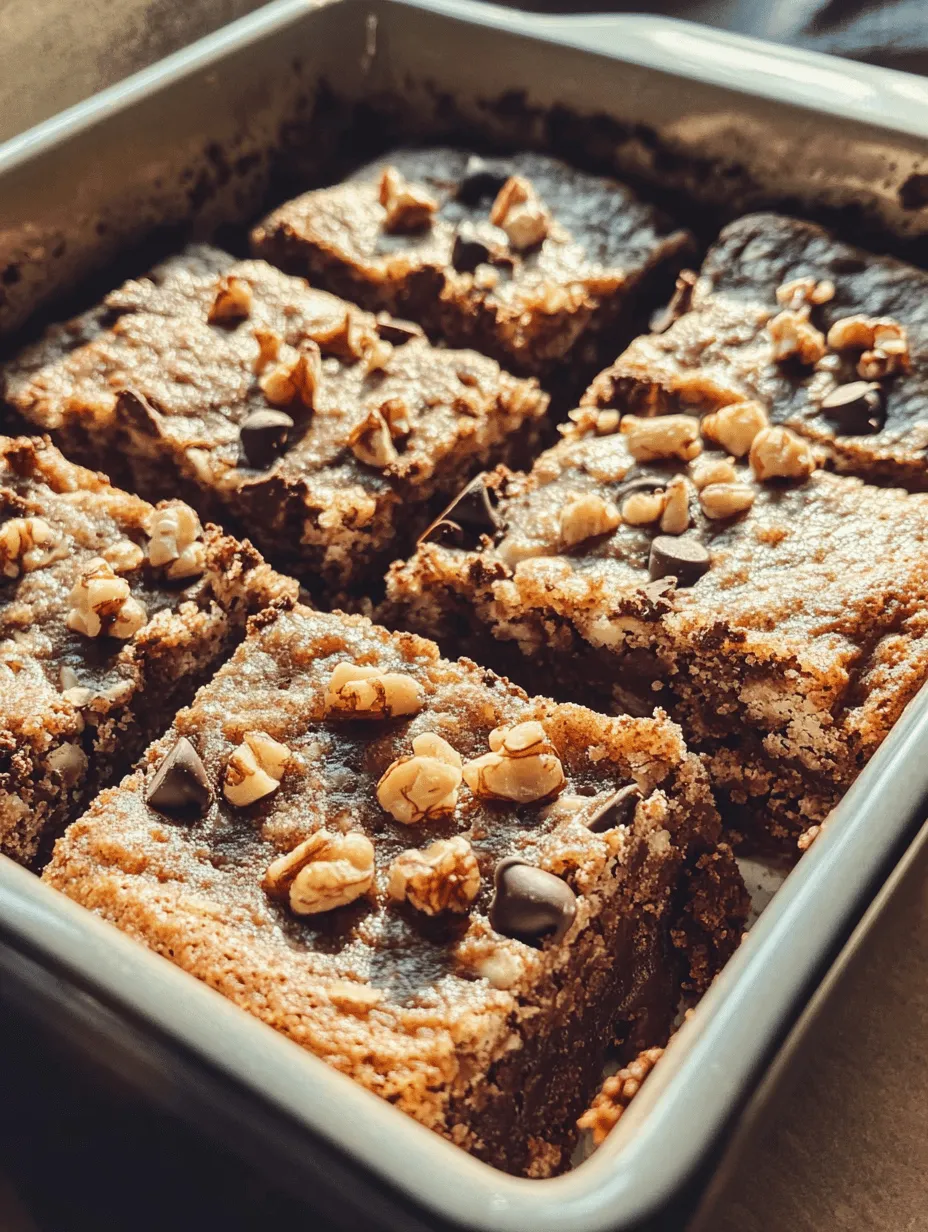
– Semi-Sweet Chocolate Chips: The star ingredient for indulgence, semi-sweet chocolate chips melt into the bars, creating pockets of gooey chocolate that contrast beautifully with the banana flavor. They provide the perfect touch of decadence that makes these bars irresistible.
– Chopped Walnuts: (Optional) For those who enjoy a bit of crunch, adding chopped walnuts can elevate the texture and nutritional value of the bars. They provide healthy fats, protein, and a delightful crunch that complements the softness of the bananas.
Step-by-Step Instructions for Choco-Banana Bliss Bars
Now that we’ve discussed the ingredients, it’s time to prepare to bake these delicious bars. Here’s a comprehensive guide to ensure your Choco-Banana Bliss Bars turn out perfectly every time.
Preparing to Bake: Prepping Your Kitchen and Gathering Tools
Before you dive into the mixing and baking process, it’s crucial to prepare your kitchen. Start by gathering all your ingredients and tools to make the process smooth and efficient. You will need:
– A large mixing bowl
– A whisk or electric mixer
– A spatula
– A measuring cup and spoons
– A baking dish (9×13 inch is ideal)
– Parchment paper (optional, for easy removal)
Once you have everything ready, preheat your oven to 350°F (175°C). This allows the oven to reach the right temperature by the time your batter is ready to go in, ensuring even baking.
Mixing the Wet Ingredients: Achieving the Perfect Base
In your large mixing bowl, start by mashing 3 ripe bananas until they reach a smooth consistency. The riper the bananas, the easier they will be to mash, and the sweeter they will taste. Adding the unsweetened applesauce next—about 1 cup—will enhance the moisture of your batter.
Once the bananas and applesauce are combined, add in the sugars: ½ cup of granulated sugar and ½ cup of packed brown sugar. Use a whisk or electric mixer on medium speed to mix these wet ingredients together until they are well blended and smooth. The mixture should be creamy and slightly fluffy, indicating that you’ve incorporated enough air into the batter—this is key for a light texture.
Incorporating Eggs and Vanilla: Enhancing Flavor and Richness
Next, it’s time to add the eggs. Crack in two large eggs, one at a time, mixing well after each addition. This step ensures that the eggs are fully incorporated, contributing to the binding and richness of the bars.
To elevate the flavor profile, include 1 teaspoon of pure vanilla extract. Vanilla is a classic ingredient that complements both chocolate and banana beautifully, adding depth to the overall taste of the bars. Mix this in until fully combined, and your wet mixture should now be smooth and aromatic, setting the stage for the dry ingredients to be added next.
As you embark on the journey to create your own Choco-Banana Bliss Bars, remember that these initial steps are just the beginning of a delightful baking experience. The combination of chocolate and banana not only pleases the taste buds but also fills the kitchen with an inviting aroma that begs to be shared. Stay tuned as we continue to build on this delicious base in the next part of our recipe article!
Step-by-Step Guide on Incorporating Ingredients Smoothly
To create the perfect Choco-Banana Bliss Bars, understanding how to combine your ingredients effectively is crucial. This section will guide you through the process of mixing dry and wet ingredients seamlessly, ensuring that each bar has the right texture and flavor.
Combining Dry Ingredients: The Science of Baking
Baking is as much a science as it is an art. When beginning, it’s essential to combine your dry ingredients properly to create a uniform mixture. Start by measuring 1 ½ cups of all-purpose flour and 1 teaspoon of baking soda. For optimal results, sift these ingredients together into a large mixing bowl. Sifting not only aerates the flour, making it lighter and helping to prevent clumps, but it also ensures that the baking soda is evenly distributed throughout the flour.
Once sifted, add ½ teaspoon of salt and 1 teaspoon of cinnamon to the dry mixture. The salt enhances the flavor while the cinnamon adds warmth and depth to the bars. Mix these dry ingredients thoroughly with a whisk to ensure that all components are combined evenly.
Importance of Sifting and Folding Techniques
Now that your dry ingredients are ready, it’s time to focus on the wet ingredients. In a separate bowl, mash 2 ripe bananas until smooth, then mix in ½ cup of unsweetened applesauce, ½ cup of honey or maple syrup, and 1 teaspoon of vanilla extract. This mixture should be well combined to create a sweet and flavorful base for your bars.
When you’re ready to combine the wet and dry ingredients, it’s essential to use folding techniques rather than vigorous stirring. Gently add the wet mixture to the dry ingredients, using a spatula to fold them together. This method helps maintain the integrity of the batter, ensuring a tender outcome rather than a dense one.
Folding in Chocolate Chips and Walnuts: Ensuring Even Distribution
After the wet and dry ingredients are combined, it’s time to fold in the chocolate chips and chopped walnuts. Use ½ cup of semi-sweet or dark chocolate chips and ½ cup of chopped walnuts. These ingredients not only add richness and crunch but also provide a delightful contrast to the soft texture of the bars. Carefully fold them into the batter until they are evenly distributed, being cautious not to over-mix, which can lead to tough bars.
Tips for Maintaining Texture
The texture of your Choco-Banana Bliss Bars is vital for a satisfying bite. Here are a few key tips to keep in mind:
1. Use Ripe Bananas: The riper the bananas, the sweeter and more flavorful your bars will be. Look for bananas with plenty of brown spots for the best results.
2. Don’t Overmix: Overmixing can cause gluten to develop, leading to dense bars. Mix just until the dry ingredients are moistened.
3. Choose Quality Ingredients: Opt for high-quality chocolate and fresh walnuts. The flavor of your bars will reflect the quality of the ingredients you use.
Baking the Bars: Perfect Timing for Ideal Results
Once your batter is ready, preheat your oven to 350°F (175°C). Line an 8×8-inch baking pan with parchment paper, allowing some overhang for easy removal later. This step is crucial as it helps prevent sticking and makes cleanup easier.
Pour the batter into the prepared pan, spreading it evenly with a spatula. Bake in the preheated oven for 25-30 minutes. The baking time can vary based on your oven, so it’s important to keep an eye on them.
Signs of Doneness and Optimal Baking Conditions
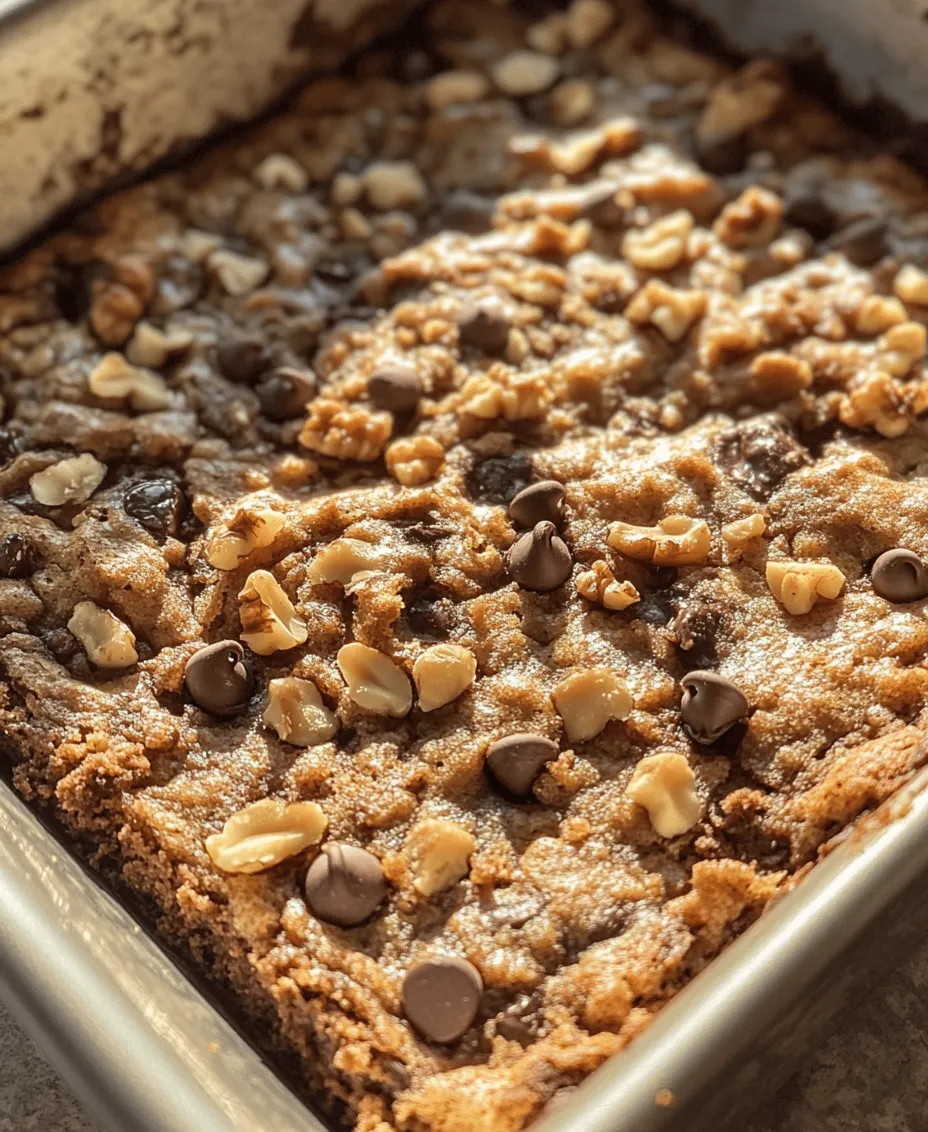
To check for doneness, insert a toothpick into the center of the bars. If it comes out clean or with a few moist crumbs, your bars are ready. If it comes out wet with batter, give them a few more minutes. Additionally, the edges should turn golden brown, and the center should have a slight spring when gently pressed.
Cooling and Slicing: Ensuring the Perfect Bar Texture
Once baked, remove the pan from the oven and let it cool in the pan for about 10-15 minutes. This cooling period is essential, as it allows the bars to set properly. After they have cooled slightly, lift them out using the parchment paper and place them on a wire rack to cool completely.
Slicing the bars while they are still warm can result in messy pieces; hence, patience is key. Once they have cooled completely, use a sharp knife to cut them into squares or rectangles. You can store the bars in an airtight container at room temperature or in the refrigerator for longer freshness.
The Nutritional Benefits of Choco-Banana Bliss Bars
Choco-Banana Bliss Bars are not only delicious but also packed with nutritional benefits that make them a guilt-free treat.
Analyzing the Health Benefits of Key Ingredients
– Bananas: These fruits are rich in potassium, which is essential for heart health and blood pressure regulation. They also provide dietary fiber, aiding digestion and promoting a feeling of fullness. Furthermore, their natural sweetness allows you to reduce added sugars in recipes.
– Applesauce: Using applesauce in your bars lowers both sugar and fat content while adding moisture. It’s a great substitute for oil or butter, making your bars lighter without sacrificing flavor.
– Nuts: Walnuts and other nuts are excellent sources of healthy fats, protein, and essential vitamins and minerals. They enhance the flavor and texture of the bars while contributing to heart health and providing sustained energy.
Balancing Indulgence and Nutrition: Enjoying Treats Mindfully
While Choco-Banana Bliss Bars are a healthier alternative to traditional desserts, it’s essential to enjoy them mindfully. Consider portion sizes and balance them with other nutritious foods throughout your day. This way, you can savor your treat without compromising your health goals.
Serving Suggestions for Choco-Banana Bliss Bars
These bars are incredibly versatile and can be enjoyed in various ways. Here are some creative serving suggestions:
Pairing with Yogurt or Ice Cream for a Dessert
For a delightful dessert, serve your Choco-Banana Bliss Bars with a dollop of Greek yogurt or a scoop of vanilla ice cream. The creamy texture of yogurt or ice cream complements the chewy bars beautifully, creating a satisfying dessert experience. Drizzle with a bit of honey or a sprinkle of cinnamon for an extra touch.
Suggestions for Breakfast or Snack Options
These bars also make a nutritious breakfast option or a quick snack. Pair them with a piece of fruit or a handful of nuts for a balanced meal. They are perfect for on-the-go breakfasts, providing a great source of energy and nutrients to start your day.
Storage Tips: Keeping Bars Fresh and Delicious
To maintain the freshness of your Choco-Banana Bliss Bars, store them in an airtight container. If you live in a warmer climate, consider refrigerating them to keep them from becoming too soft. They can also be frozen for longer storage; just wrap them individually in plastic wrap and place them in a freezer-safe bag. When you’re ready to enjoy, thaw them at room temperature or warm them slightly in the microwave.
Conclusion
Choco-Banana Bliss Bars serve as a delightful reminder that indulgent treats can also be made with wholesome ingredients. This recipe captures the essence of comfort food while being easy to prepare and enjoy. Whether shared with family and friends or savored alone, these bars are sure to satisfy your cravings for something sweet. Embrace the joy of baking with this simple yet rewarding recipe, and let the delightful flavors of chocolate and banana brighten your day. Enjoy the process, and don’t forget to share your baking adventure with others!